Home Theatre Projects/Setups

Ya - was busy on Saturday - then had to work on Sunday...so its been postponed :( Also, difficult convincing my other half to help :p

Well if things go according to plan I am mounting my projector this weekend. Not looking forward to drilling concrete slab, but hey it's gotta be done :)
 
Well if things go according to plan I am mounting my projector this weekend. Not looking forward to drilling concrete slab, but hey it's gotta be done :)

Hope you have a good drill :)

I took forever planning mines position - to get it 100% in the center of the room.. (which means when I get a new projector, I probably have a problem :p

emailed the guy about the material - I'll let you know when he gets back to me.
 
Hope you have a good drill :)

I took forever planning mines position - to get it 100% in the center of the room.. (which means when I get a new projector, I probably have a problem :p

emailed the guy about the material - I'll let you know when he gets back to me.

I have a friend with the required tools :D

Mine will probably be slightly off centre to dodge the light fitting (it might still have to go) and to compensate how I've laid out my room. Fortunately the lens shift feature will fix most things ;)
 
Just a quick pic from my phone, will post more detailed pics at a later stage. :)

image-AA10_4CF8BEFD.jpg
 
I have a friend with the required tools :D

Mine will probably be slightly off centre to dodge the light fitting (it might still have to go) and to compensate how I've laid out my room. Fortunately the lens shift feature will fix most things ;)

Show off :p
 
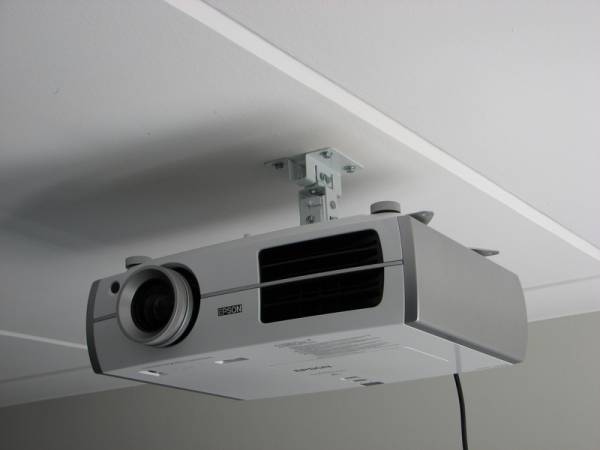
I lured a friend over with promises of free beer and lunch and then made him help me install my projector :D. Here are some pictures of the install.

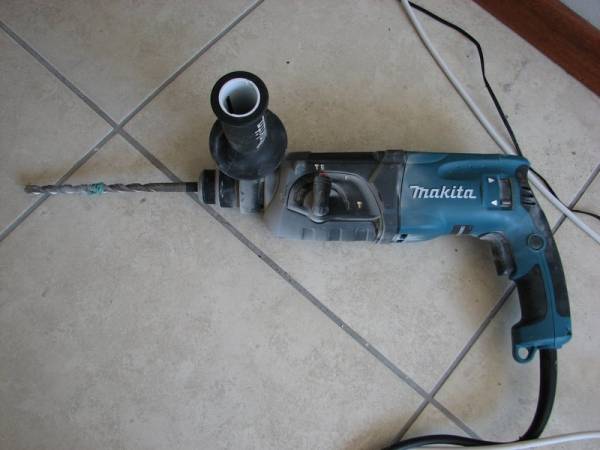
You need the right tools. This made quick work of my concrete slab ceiling.
IMG_2871-1.JPG


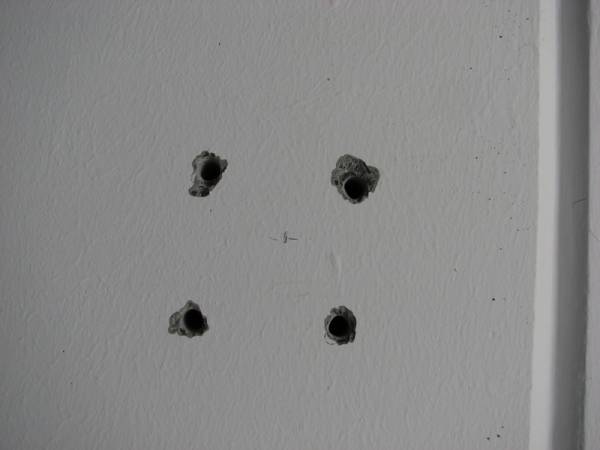
The results
IMG_2870.JPG


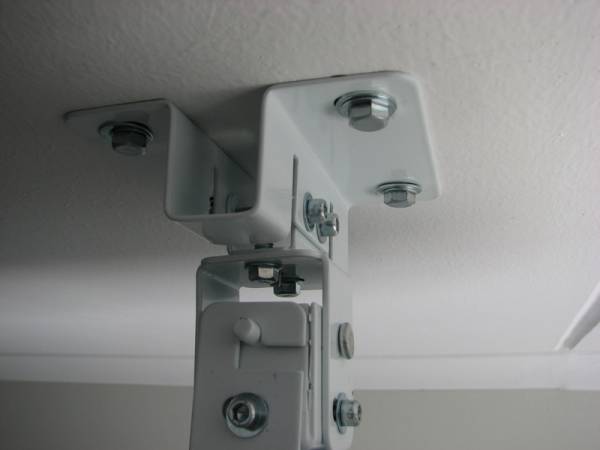
Bracket close up
IMG_2878.JPG


Bracket
IMG_2877.JPG


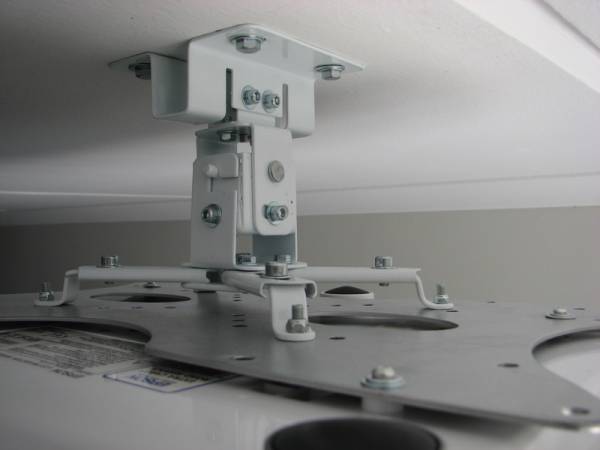
Projector Installed
IMG_2875.JPG


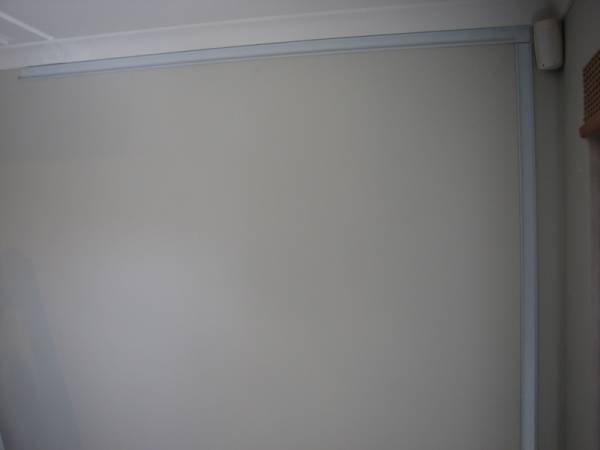
Trunking
IMG_2879.JPG


I had a tough time deciding what to do with the alarm sensor. I considered removing it so I could get the trunking flush in the corner and stick it on top of the trunking, but in the end I just decided to leave it where it was. I'm planning on painting over the trunking, but already it's not really bothering me in it's current position. I also opted to use "No Nails" over drilling more screws into the wall for the trunking. It certainly did work very quickly and is a firm bond. The unknown factor is what happens when I want to take if off one day. Currently I suspect it will become the next owners' problem :p
 
Finally did my screens border - wasn't too difficult... I'll try get some pics up during the week.
 
Finally did my screens border - wasn't too difficult... I'll try get some pics up during the week.

I am keen to see it. I did most of my speaker cabling over the weekend. Will post some pics. My 5m HDMI cable has also arrived so I can hopefully get my cabling done. Then I'll start looking at a screen.
 
Looks way better than just the white screen... because of my projector alignment - I had difficulty getting it to fit the actual screen area properly, so I've made it about 3cm overlap the black border on each side. The material absorbs all the light, so you can't see it at all.
 
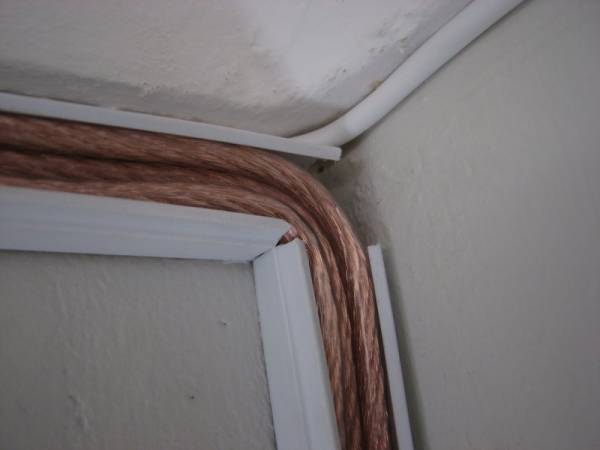
So I decided to upgrade the standard speaker cables that came with my Z5500's to 3mm Monster Cable. While it just-just fitted into the satellites (with my bad solder tipping) I only discovered afterwards that the clips on the sub are smaller than the satellites, so I really had to work hard to get them to fit. So in future if you want to attempt this I would suggest 2mm rather.

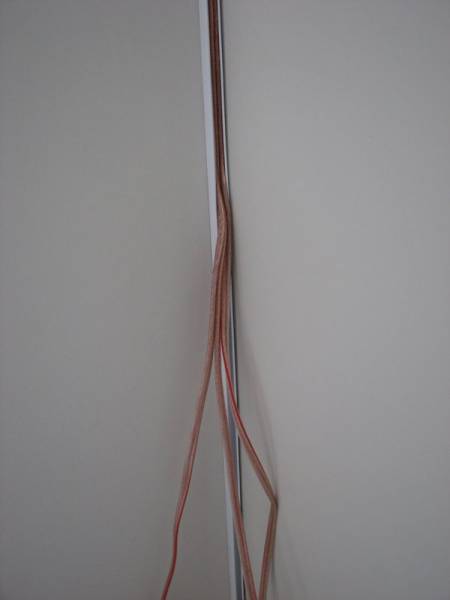
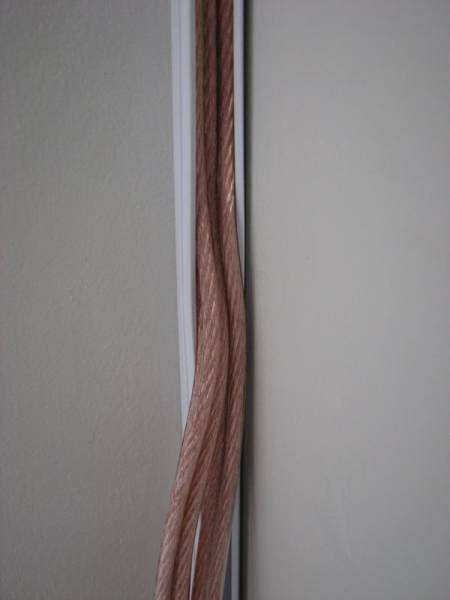
Here are some pics of the cabling being pushed into the trunking. It was a tight fit! I tested various method to fit 3 sets of cables in and the best was stacking them and forcing them into the trunking at the same time.

IMG_2886.JPG

IMG_2887.JPG

IMG_2888.JPG


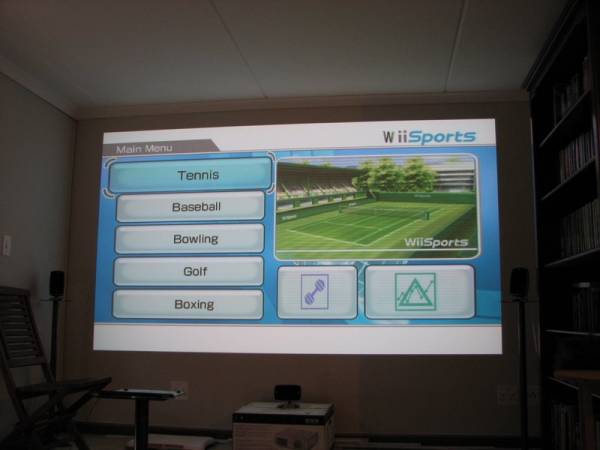
Got the Wii up and running as well :)
IMG_2890.JPG
 
So I decided to upgrade the standard speaker cables that came with my Z5500's to 3mm Monster Cable. While it just-just fitted into the satellites (with my bad solder tipping) I only discovered afterwards that the clips on the sub are smaller than the satellites, so I really had to work hard to get them to fit. So in future if you want to attempt this I would suggest 2mm rather.

Here are some pics of the cabling being pushed into the trunking. It was a tight fit! I tested various method to fit 3 sets of cables in and the best was stacking them and forcing them into the trunking at the same time.

IMG_2886.JPG

IMG_2887.JPG

IMG_2888.JPG


Got the Wii up and running as well :)
IMG_2890.JPG

Looking very nice indeed, where abouts did you buy the monster cabling and what was it per meter?
 
I got mine there too - bought a 100m roll... still got some... also got some 2mm somewhere in the garage....
 
Top
Sign up to the MyBroadband newsletter
X